How to Print on Dark T-Shirts Using Transfer Paper
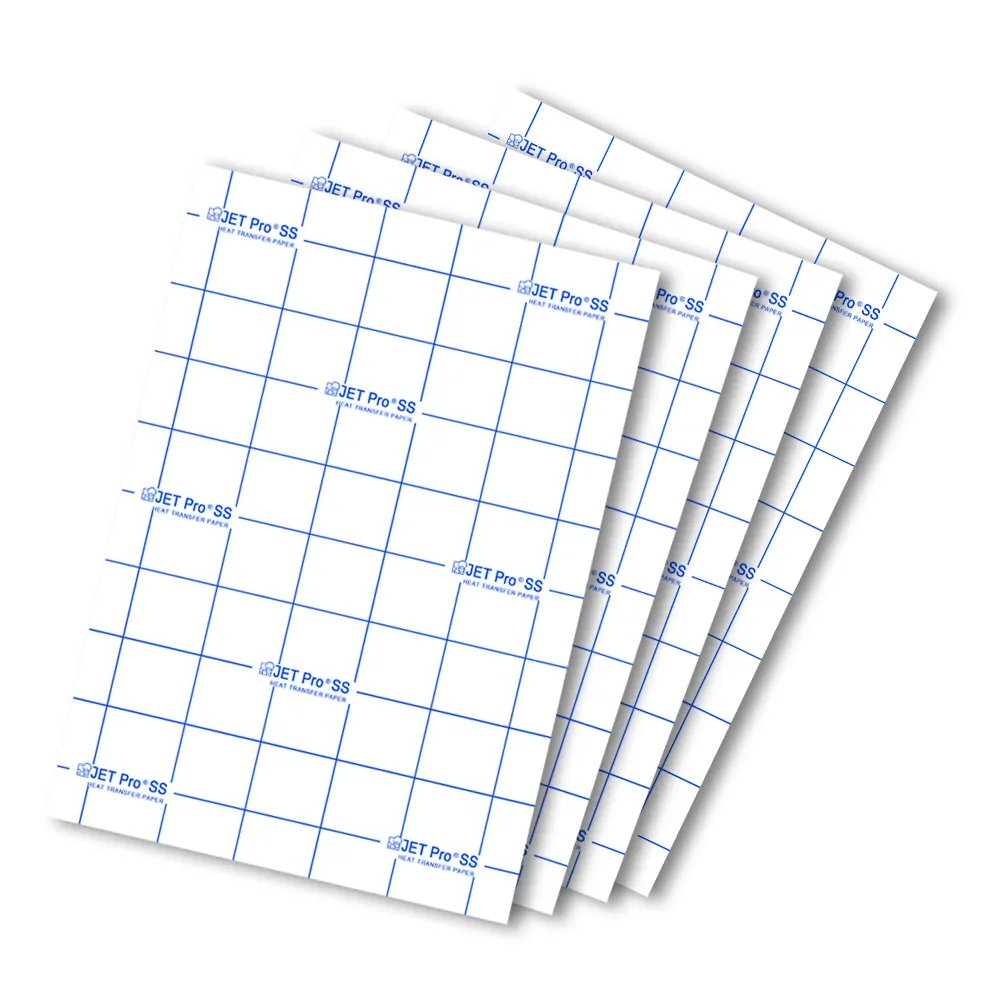
Want to print vibrant, full-color designs on black, navy, red, or any other dark-colored garment? Dark transfer paper is your solution. Unlike paper for light shirts, this type works by creating an opaque white base on the sheet, allowing colors to pop on any dark background. Think of it as creating a high-quality, flexible sticker that you permanently press onto the fabric.
This guide will walk you through the entire process, from design to the final pressed shirt.
Part 1: Gather Your Supplies
Before you begin, make sure you have everything you need. The right tools will ensure a professional-looking result.
- Dark Transfer Paper: The star of the show. Choose a quality brand for better durability and feel.
- A Dark-Colored Garment: 100% cotton or cotton/poly blends work best. Pre-wash the shirt without fabric softener for best results.
- Inkjet Printer with Pigment Ink: This is essential. Pigment-based inks are water-resistant and won’t bleed or fade as quickly as standard dye-based inks.
- Heat Press Machine: While an iron can be used, a heat press provides the consistent temperature and even pressure needed for a durable, professional finish.
- Computer with Design Software: You can use anything from Adobe Photoshop to free tools like Canva to create or edit your design.
- Cutting Tool: Depending on your design’s complexity, you can use scissors, a craft knife, or a vinyl cutter (like a Cricut or Silhouette) for precise, automated cutting.
- Parchment Paper or a Teflon Sheet: This is placed over your design during pressing to protect both the print and your heat press.
Part 2: Step-by-Step Instructions
Follow these steps carefully for a great result.
Step 1: Create and Finalize Your Design
Prepare your digital image. For the best quality, ensure your design has a resolution of at least 300 DPI. Remember that any white area of the paper that you don’t cut away will transfer as white onto the shirt.
Step 2: Print Your Design (The Right Way)
This is the most critical step where mistakes are often made.
- Load the dark transfer paper into your inkjet printer so that it prints on the blank, white side.
- In your printer settings, choose a high-quality print mode like “photo paper” or “premium matte.”
- IMPORTANT: DO NOT MIRROR YOUR IMAGE. Unlike paper for light shirts, you print the design exactly as you want it to appear on the shirt.
Step 3: Cut Out the Design
Once printed, carefully cut around your design.
- For simple shapes: Scissors or a craft knife work well.
- For complex shapes: A vinyl cutter is highly recommended. It will follow your design’s contours perfectly, giving you clean, professional edges. The more of the unprinted white background you can remove, the better your final shirt will look.
Step 4: Prepare Your Garment and Heat Press
- Set your heat press to the temperature and time recommended by your transfer paper manufacturer. A common starting point is 165−175∘C (330−350∘F) for 15-25 seconds.
- Place your shirt on the press and pre-press it for 5-10 seconds. This removes any moisture and wrinkles from the fabric, ensuring a smooth application.
Step 5: Position and Press the Design
- Carefully peel the backing paper off your printed and cut design.
- Place the design on the shirt with the printed side facing up. You should be looking at your design exactly how it will appear.
- Cover the design with a sheet of parchment paper or a Teflon sheet. This prevents the ink from sticking to the heat press platen.
- Close the press and apply firm, even pressure for the recommended time.
Step 6: Peel and Finish
- Once the time is up, open the press.
- While the paper is still warm (but not scorching hot), carefully peel away the parchment paper or Teflon sheet in a smooth, continuous motion.
- For a softer feel, you can gently stretch the shirt while it’s still warm.
Part 3: Care Instructions for Longevity
To make your custom shirt last, follow these washing tips:
- Wait 24 hours before the first wash.
- Turn the garment inside out.
- Wash in cold water on a gentle cycle with a mild detergent.
- Hang dry or tumble dry on the lowest heat setting.
- Do not bleach or iron directly on the design. If you need to iron the shirt, do so with it turned inside out.


