How to use Dark Transfer Paper
Have you ever tried to print a design on a black or navy blue t-shirt, only to have the image disappear or look “ghostly”? That’s usually because you used the wrong type of transfer paper.
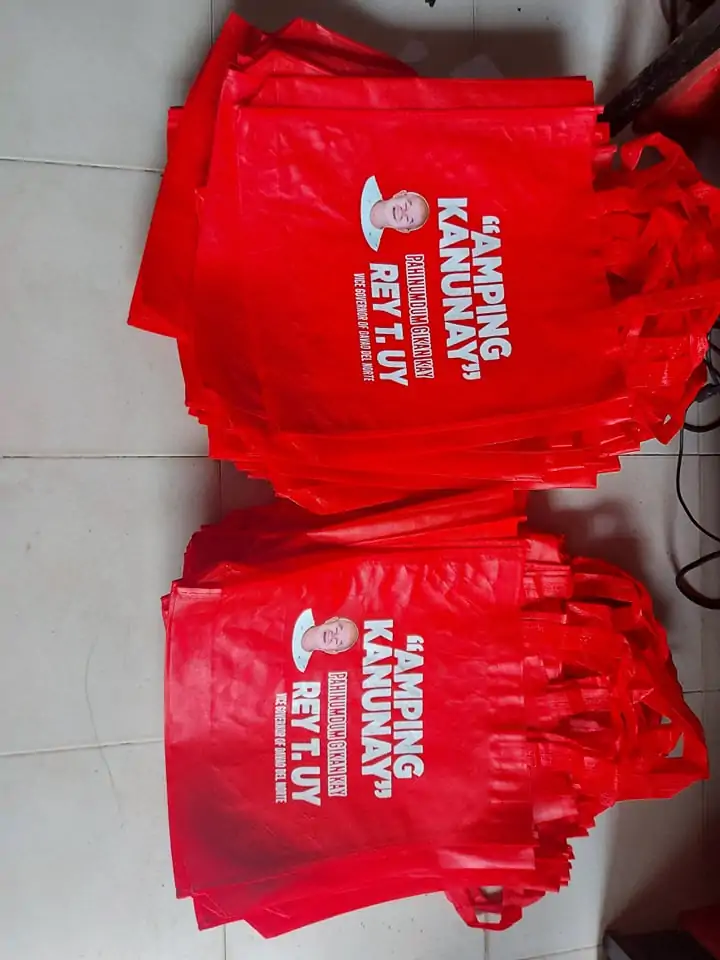
When working with colored fabrics – whether it’s black, red, or even a deep blue – you need to use Dark Transfer Paper. Unlike light transfer paper, which is transparent, dark transfer paper is opaque and has a white background. This ensures your colors stay vibrant and don’t get swallowed up by the dark fabric dye.
In this guide, we’ll walk you through exactly how to use dark transfer paper so you don’t waste materials on trial and error.
What You Will Need
Before we start, gather your supplies:
- Dark Transfer Paper: specifically labeled for “Dark Fabrics.”
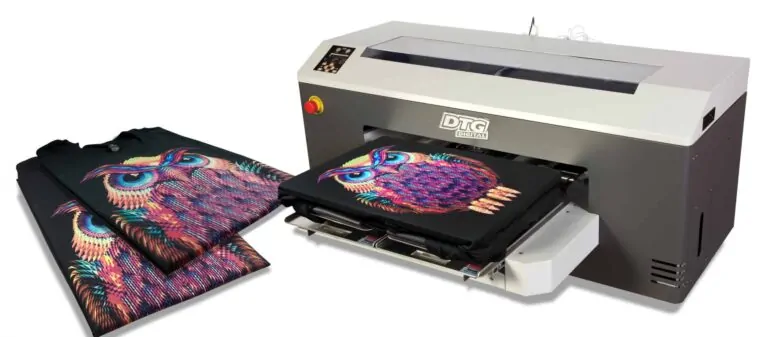
- Inkjet Printer: Set to high quality (most papers work with standard Dye or Pigment inks).
- Dark Cotton Fabric: T-shirts, tote bags, or hoodies.
- Scissors or Cutting Plotter: (e.g., Cricut, Cameo) for trimming.
- Heat Source: A Heat Press (recommended) or a Household Iron.
- Parchment Paper: Usually included with your transfer paper pack. (Do not use wax paper!)
The Golden Rule: Do NOT Mirror!
If you take only one thing away from this guide, let it be this: Do not mirror (reverse) your image.
- Light Transfer Paper: You mirror the image because you place it face down.
- Dark Transfer Paper: You place the image face UP. If you mirror it, your text will be backwards on the final shirt!
Step-by-Step Instructions
Step 1: Print Your Design
Load your dark transfer paper into your printer. Make sure you are printing on the plain/coated side, not the side with the grid or text branding.
- Printer Settings: Select “Photo Quality” or “Best” mode.
- Paper Type: “Plain Paper” or “Matte Photo Paper” usually works best.
Step 2: Cut Your Design
Because dark transfer paper is white, any unprinted area will show up as white on your shirt.
- For a “Sticker” Look: You can leave a small white border around your image.
- For a Professional Look: Cut exactly along the edge of your printed design. If you have a cutting machine (like a Cameo or Cricut), use the “Print and Cut” feature for precision.
Step 3: Peel the Backing (Crucial Step!)
This is where many beginners get stuck. You must peel the backing paper before pressing.
- Gently tease the edge of the paper with your fingernail.
- Peel the printed film off the backing grid.
- Discard the backing grid. You should now be holding a thin, flexible film with your image on it.
Step 4: Application
Pre-press your fabric for 3–5 seconds to remove wrinkles and moisture.
Placement:
- Lay the shirt flat.
- Place your peeled design Face UP on the shirt.
- Cover the design completely with the provided parchment paper. This protects the vinyl from melting onto your heating element.
If Using a Heat Press:
- Temperature: 350°F – 375°F (approx. 175°C – 190°C).
- Time: 20–30 seconds.
- Pressure: Medium to Heavy.
If Using a Home Iron:
- Setting: Highest “Cotton” setting (No Steam!).
- Technique: Press down firmly with both hands. Do not slide the iron; lift and press each section for about 20–30 seconds. Pay extra attention to the edges.
Step 5: Finishing Up
Wait for the design to cool down (unless your specific paper brand says “Hot Peel”). Gently remove the parchment paper. Your design should now be smooth and fully adhered to the fabric!
Washing & Care Instructions
To keep your custom prints looking fresh, follow these rules:
- Wait 24 Hours: Do not wash the shirt immediately after pressing.
- Inside Out: Always turn the garment inside out to protect the print from friction.
- Cold Water: Wash in cold or warm water with mild detergent.
- No Bleach: Avoid harsh chemicals.
Summary of Differences
| Feature | Light Transfer Paper | Dark Transfer Paper |
| Best Fabric | White / Light Grey | Black / Navy / Red |
| Mirror Image? | YES | NO |
| Peel Backing? | After pressing | Before pressing |
| Image Face | Face Down | Face Up |