Sublimation Mug Design
Customized coffee mugs have become one of the most popular items in the personalized gift industry. Whether you are starting a small business or looking for a creative hobby, sublimation mug design offers endless possibilities.
In this guide, we’ll explore the different types of mugs available, where to find the best design templates, and a step-by-step look at how to bring your designs to life.
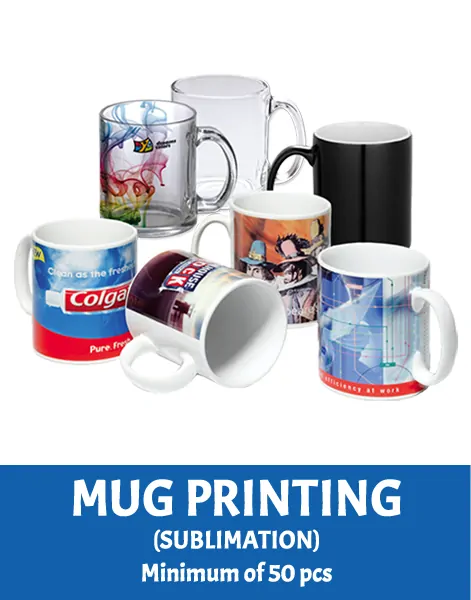
Choosing Your Canvas: Types of Sublimation Mugs
Before you start designing, you need to choose the right “blank”. Not all mugs are created equal.
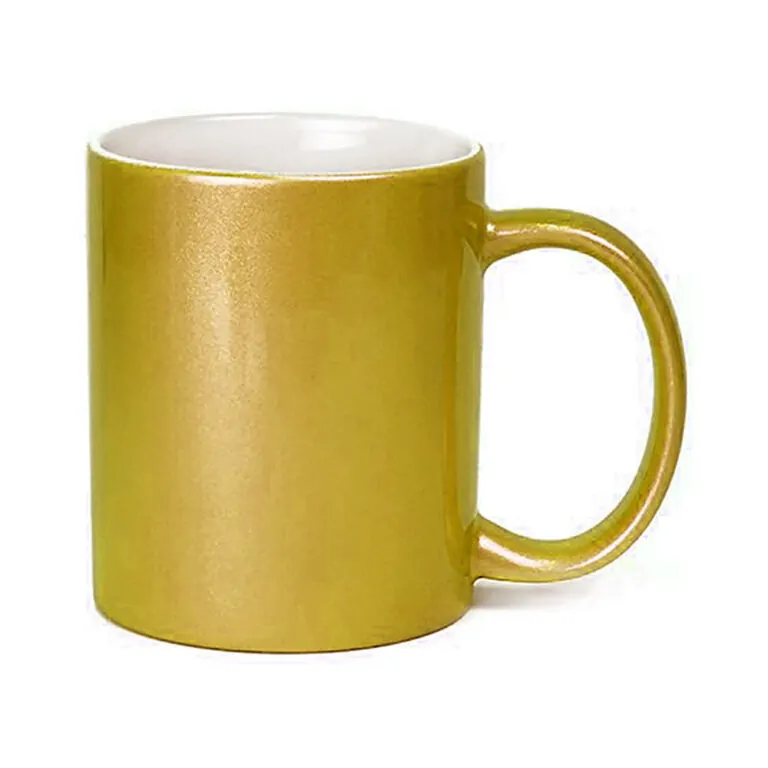
- Classic White Mugs: The gold standard for sublimation. These provide a clean, bright background that makes colors pop.
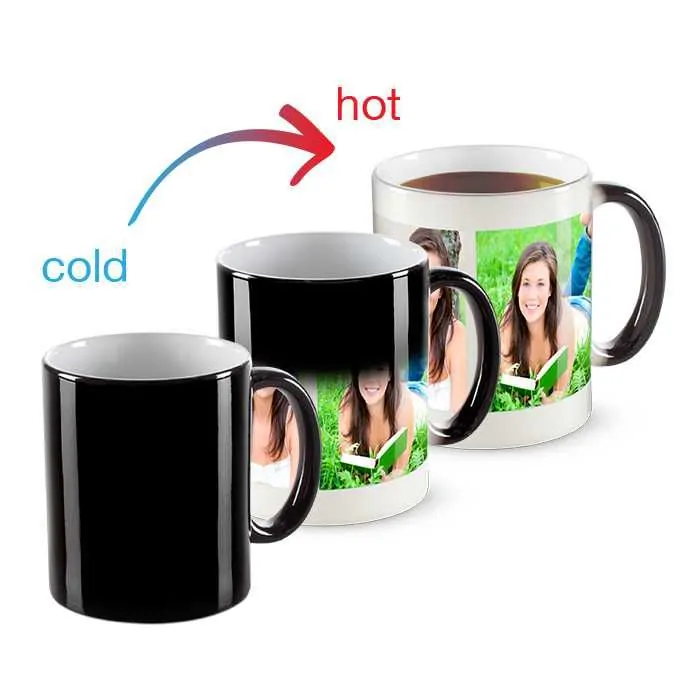
- Magic Mugs (Matte Finish): These are heat-activated mugs that appear solid black when cold but reveal your custom design when a hot beverage is poured inside. The matte finish offers a modern, premium feel.
Trending Design Ideas
Finding the right aesthetic is key to a successful product. Based on current trends, here are four design styles that are dominating the market:
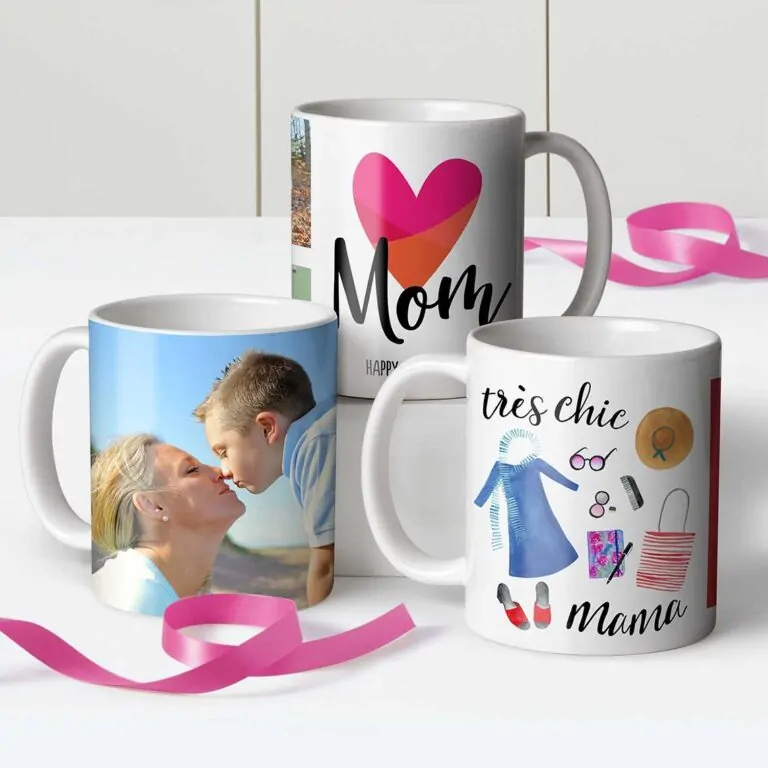
Floral & Botanical Wraps
Nature-inspired designs are timeless. Full-wrap floral patterns are perfect for “Mother’s Day” or “Thinking of You” gifts. High-quality PNG wraps allow for seamless edges around the mug.
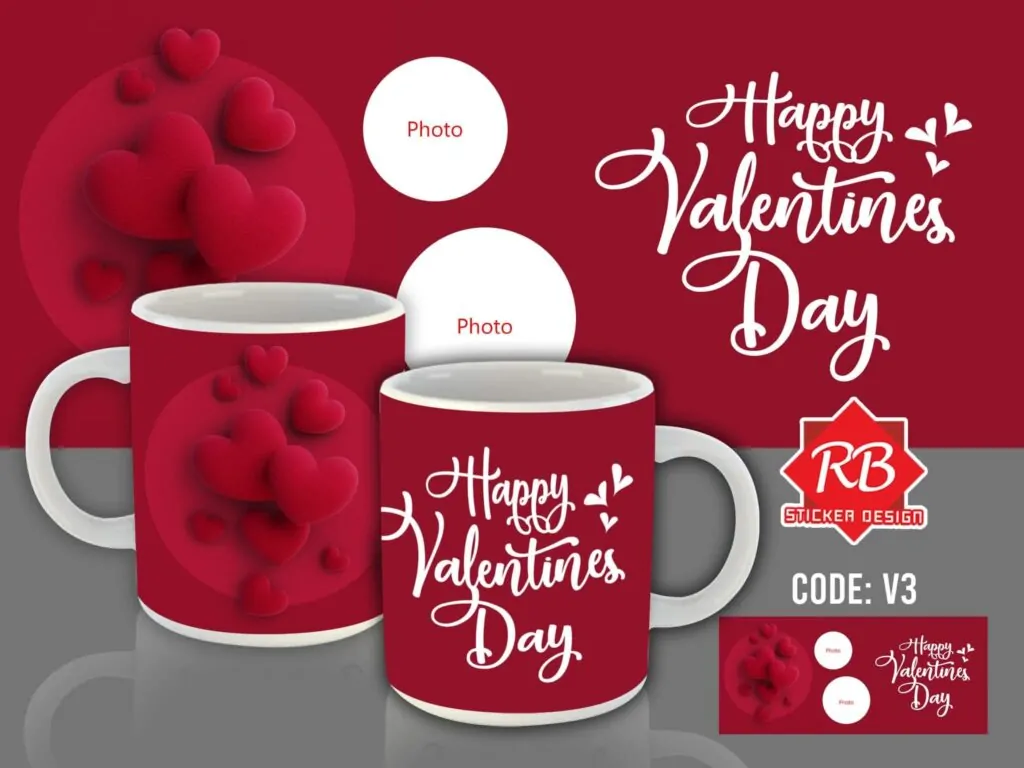
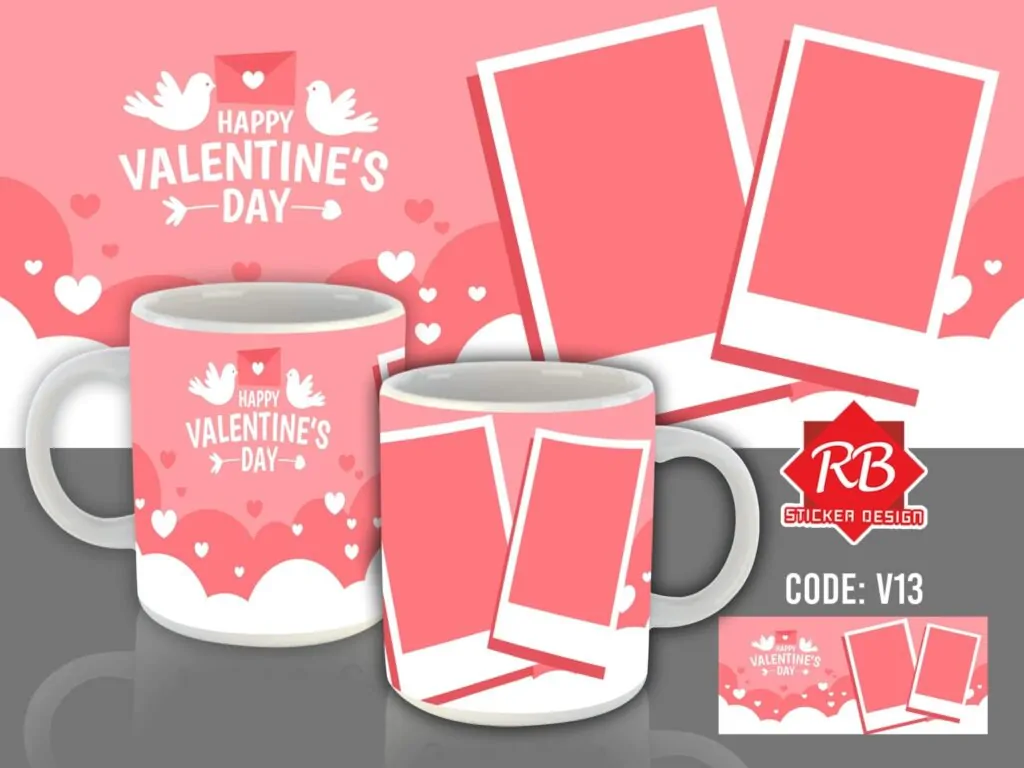
Photo Collages & Frames
People love memories. Using templates with photo frames or heart-shaped collages is a top-selling strategy for Valentine’s Day and anniversaries.
Minimalist Quotes & Positive Statements
Sometimes, less is more. A simple, positive statement in a beautiful font can turn a standard cup into someone’s favorite morning mug.
Holiday-Specific Bundles
Creating “drop” collections for Mother’s Day, Christmas, or Father’s Day is a great way to boost sales. You can often find curated bundles of 30+ designs to save time on the creative process.
Where to Find Design Inspiration & Templates
You don’t have to be a graphic designer to create professional mugs. Check out these resources:
- Behance: Search for Mug Sublimation projects to see high-end, artistic concepts.
- Design Bundles: Great for ready-to-use PNG wraps and photo collage templates.
- TikTok: Use platforms like TikTok to watch quick design-to-press videos for visual inspiration.
Print Your First Sublimation Mug
Once you have your design, it’s time to get technical. Here is a simplified workflow based on industry standards:
- Prepare Your Design: Use software like Silhouette Studio or Photoshop. Ensure your template is sized correctly (usually 8.5″ x 3.5″ for an 11oz mug).
- Print: Use a sublimation printer with sublimation ink. Crucial Tip: Always mirror your image before printing!
- Trim & Secure: Cut your design to size and use heat-resistant tape to secure the paper tightly against the mug. Any gaps will cause “ghosting.”
- Heat Press: Use a mug press or a convection oven. Standard settings are usually around 180-200°C for 180 seconds, but always check your specific paper and mug instructions.
Pro Tips for Better Results
- Avoid the Handle: Keep your design at least 0.5 inches away from the handle to ensure the heat press applies even pressure.
- Check Your Pressure: If the design looks faded, you might need more pressure or a longer press time.
- Software Matters: If you are a Silhouette user, you can easily integrate sublimation into your workflow by using the “Print and Cut” logic for sizing, even if you aren’t actually cutting the paper with the machine.
Image Gallery


CONTACT US
- MESSAGE US ON FACEBOOK: https://www.facebook.com/rbsublimationsignage
- CALL/TEXT: +639460480491