This guide is for NBI clearance first time, and existing applicants looking for updated 2023 procedure on how to perform online application on the Philippines’ National Bureau of Investigation website.
WHAT IS INCLUDED ON NBI CLEARANCE?
The NBI Clearance will contain your first name, middle name, last name, date of birth, date of issuance and purpose on why you requested for the clearance.
STEP-BY-STEP GUIDE
PRE-REQUISITE
Before you start with the process, kindly make sure have an active email account either through GMAIL or YAHOO MAIL to confirm NBI online registration, and bills payment confirmation.
You need to also prepare any two (2) of the following valid IDs: UMID, Passport, Driver’s License, or Birth Certificate Authenticated by PSA. For first time applicants and job seekers, you can request for a Barangay Certificate to avail for the free service provided by RA 11261.
STEP 1: REGISTER ONLINE
Go to the NBI website (https://www.nbi-clearance.com/) then register with your active email account.
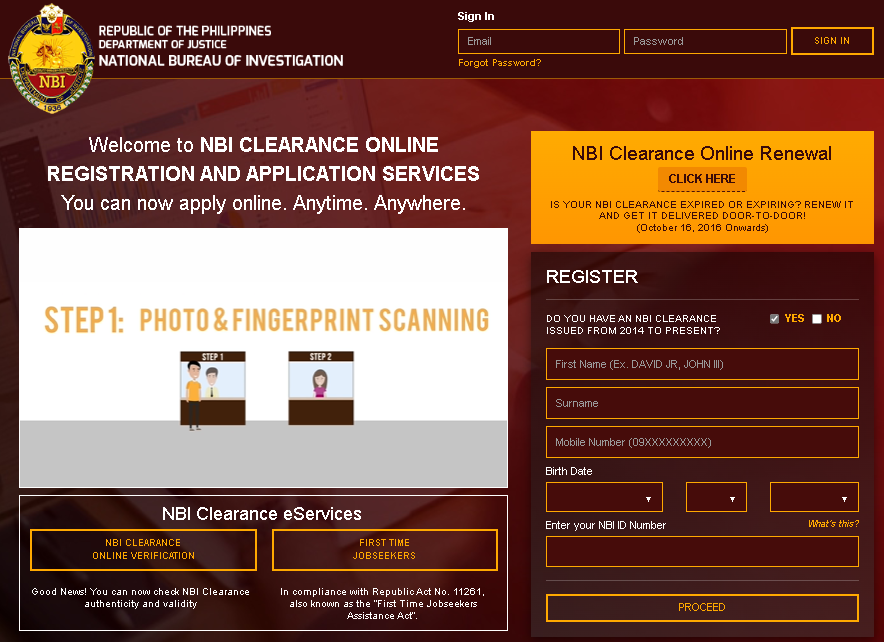
STEP 2: FIRST TIME versus RENEWALS
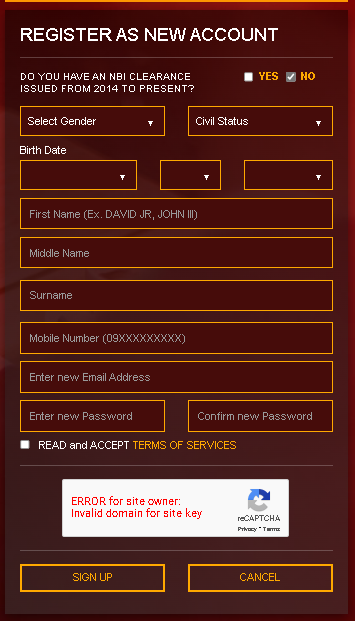
- For first time applicants, answer “NO” on the question “Do you have an NBI Clearance Issued from 2014 to Present. After filling out the required fields, click “READ AND ACCEPT TERMS OF SERVICES” and click “SIGN UP“.
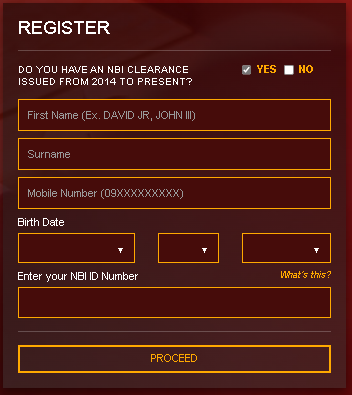
- For NBI clearance renewals, answer “YES” and provide your old NBI ID number. After filling out the required fields, click “PROCEED“.
STEP 3: ONE-TIME PASSWORD (OTP)
NBI will send a one-time password (OTP) either via your active email account or SMS through your mobile number.
STEP 4: APPLICATION FORM
Fill out all the required information (see below) and save information:
- First Name
- Middle Name
- Last Name
- Gender
- Nickname
- AKA/Other Name
- Civil Status
- Date of Birth
- Birth Place
- Citizenship
- Address (Street, Unit, Building, Village)
- Mobile Number
- Family Background
- Spouse Name
- Spouse Birth Place
- Father Name
- Father Birth Place
- Mother Name
- Mother Birth Place
- Other Information
- Educational Attainment
- Occupation
- Religion
- Height
- Weight
- Complexion
- Identifying Marks
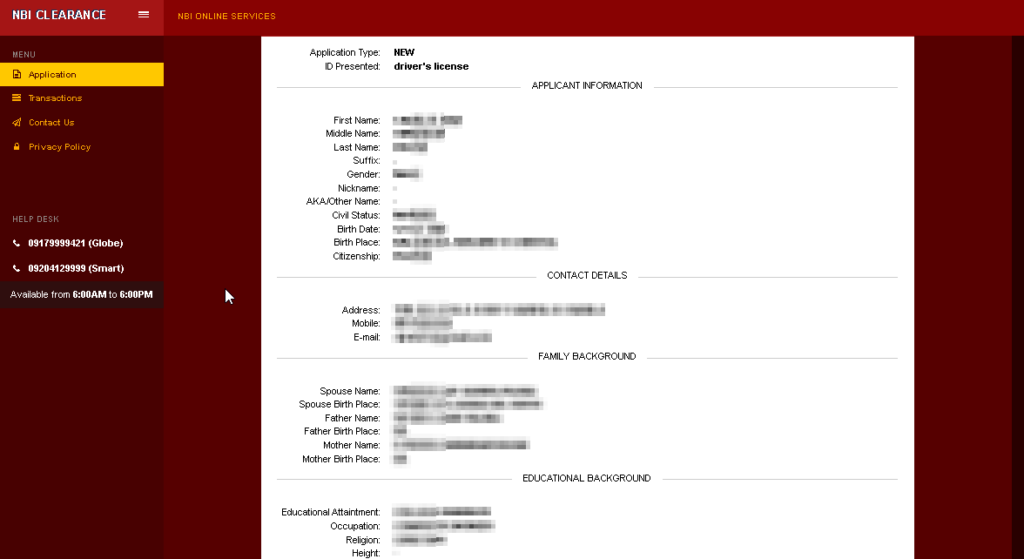
Once done and complete, click “APPLY FOR CLEARANCE“.
STEP 5: VALID ID
After clicking on Apply for Clearance, you will be asked to choose a valid ID that will be presenting during your appointment. Choose any of the following:
- UMID (SSS / GSIS)
- Passport
- PHILHEALTH
- Voter’s ID or Certificate of Registration
- BIR
- PRC License
- Driver’s License
- Birth Certificate Authenticated by PSA
- Pag-Ibig ID
- Postal ID
- Certification from Local Civil Registrar
- Certification from Malacanang in Connection with Indigenous Groups, Tribal Membership or Foundling
- Solo Parent ID
- Company ID for Government Employees
- Seaman’s Book and SIRV
- School ID together with current registration card
- Senior Citizen ID
- Marina
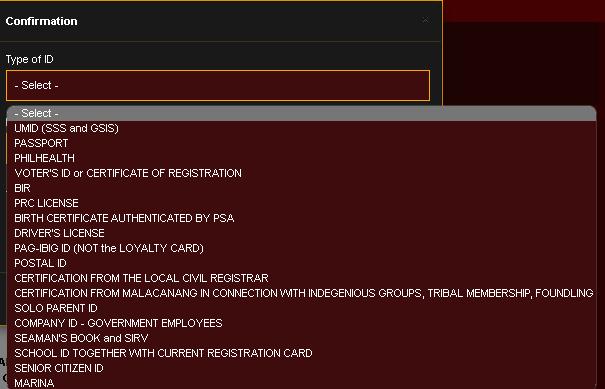
Once done, click “I AGREE“.
STEP 6: SCHEDULE AN APPOINTMENT
Select an NBI Branch (example: NBI Tagum) and choose an available date and time.
STEP 7: PAYMENT
Choose a mode of payment among these options:
- Bank Over The Counter
- Online Bank
- Cash Payments
- ECPay
- 7-Eleven (For this option, you will be provided a reference number. Bring the reference number with you and present to the cashier of the 7-Elevent branch.)
- VISA/Mastercard
- GCash
- Paymaya
Once complete, wait for the status to change to “PAID“.
STEP 8: VISIT NBI BRANCH
When the chosen appointment date comes, visit your chosen NBI Branch and bring with you:
- at least two (2) valid ID
- NBI Clearance Online Reference Number
- NBI Clearance Online Payment Receipt
STEP 9: BIOMETRICS AND PHOTO
An NBI personnel will assist you with your biometrics and photo capture. Follow the instructions of the friendly NBI personnel.
STEP 10: RELEASING
After the biometrics and photo capture, wait for the NBI personnel to call your name who will either give you your NBI Clearance or have you comeback at a certain date when you have a NBI HIT Status.


