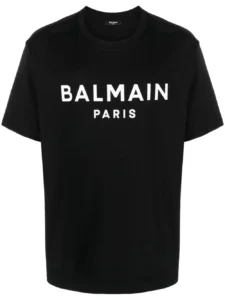
Learning how to make a custom shirt is the most practical way to create personalized corporate uniforms, streetwear merchandise, sportsfest jerseys, or reunion souvenirs. From preparing clean digital artwork to picking the right fabric blend and printing process, every decision impacts durability, comfort, and production cost.
Here is your complete 5-step roadmap to make custom shirts in the Philippines with factory-grade quality, zero guesswork, and express nationwide delivery.
Real Production Gallery: Custom Shirts Made to Order
Explore actual custom shirt orders created by RB Advertising for businesses, streetwear clothing brands, academic organizations, and civic events:
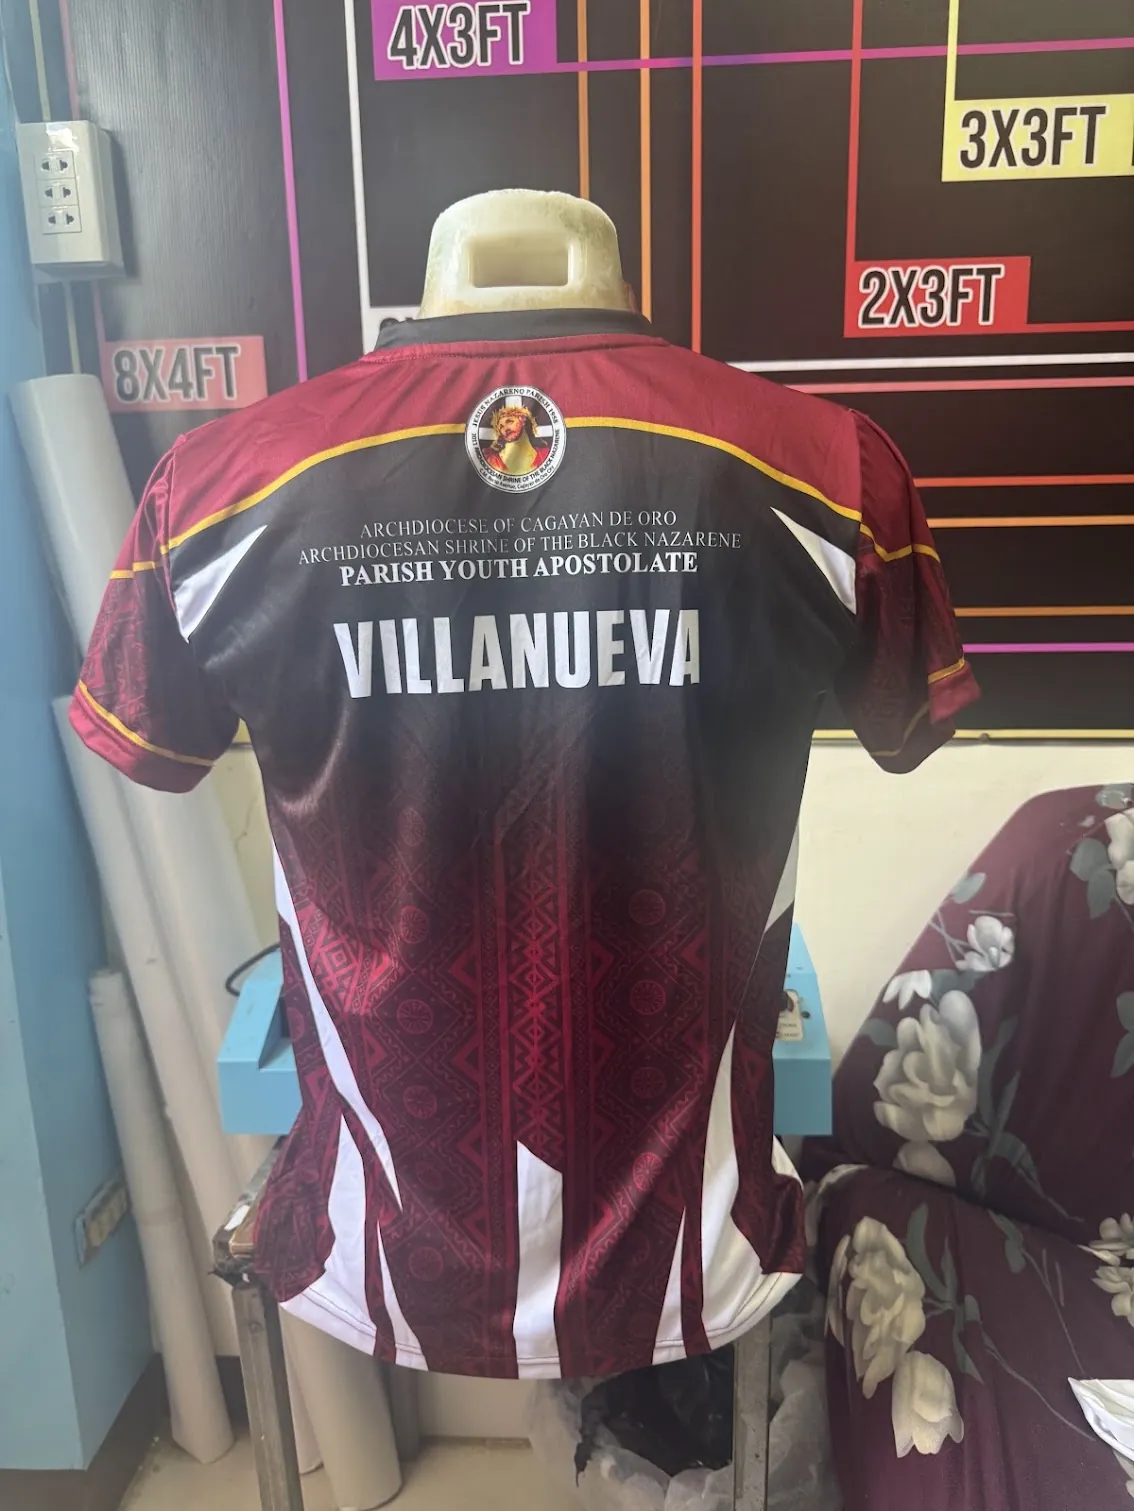
Custom Sublimated Organization Shirt
Full dye sublimation shirt produced for the Archdiocesan Shrine Parish Youth Apostolate in Villanueva with tribal sleeve motifs and rear name personalization.
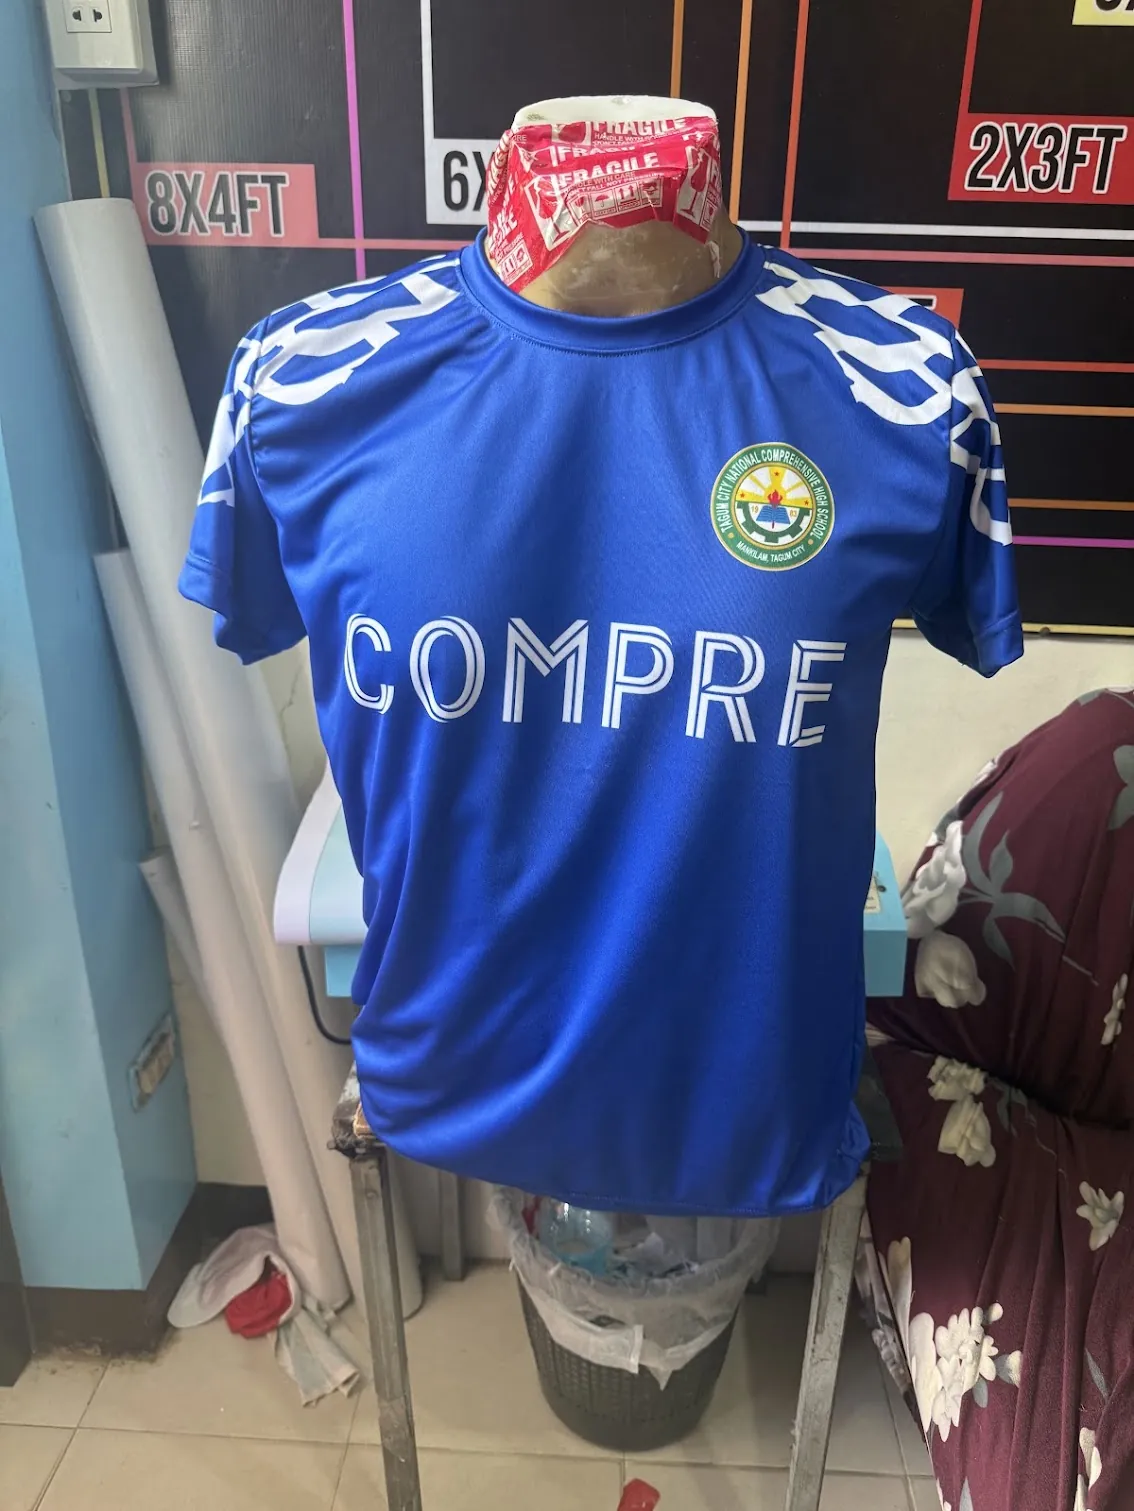
School & PE Department Custom Shirt
Custom athletic activewear shirt manufactured for Tagum City National Comprehensive High School with school seal crest and shoulder wave accents.
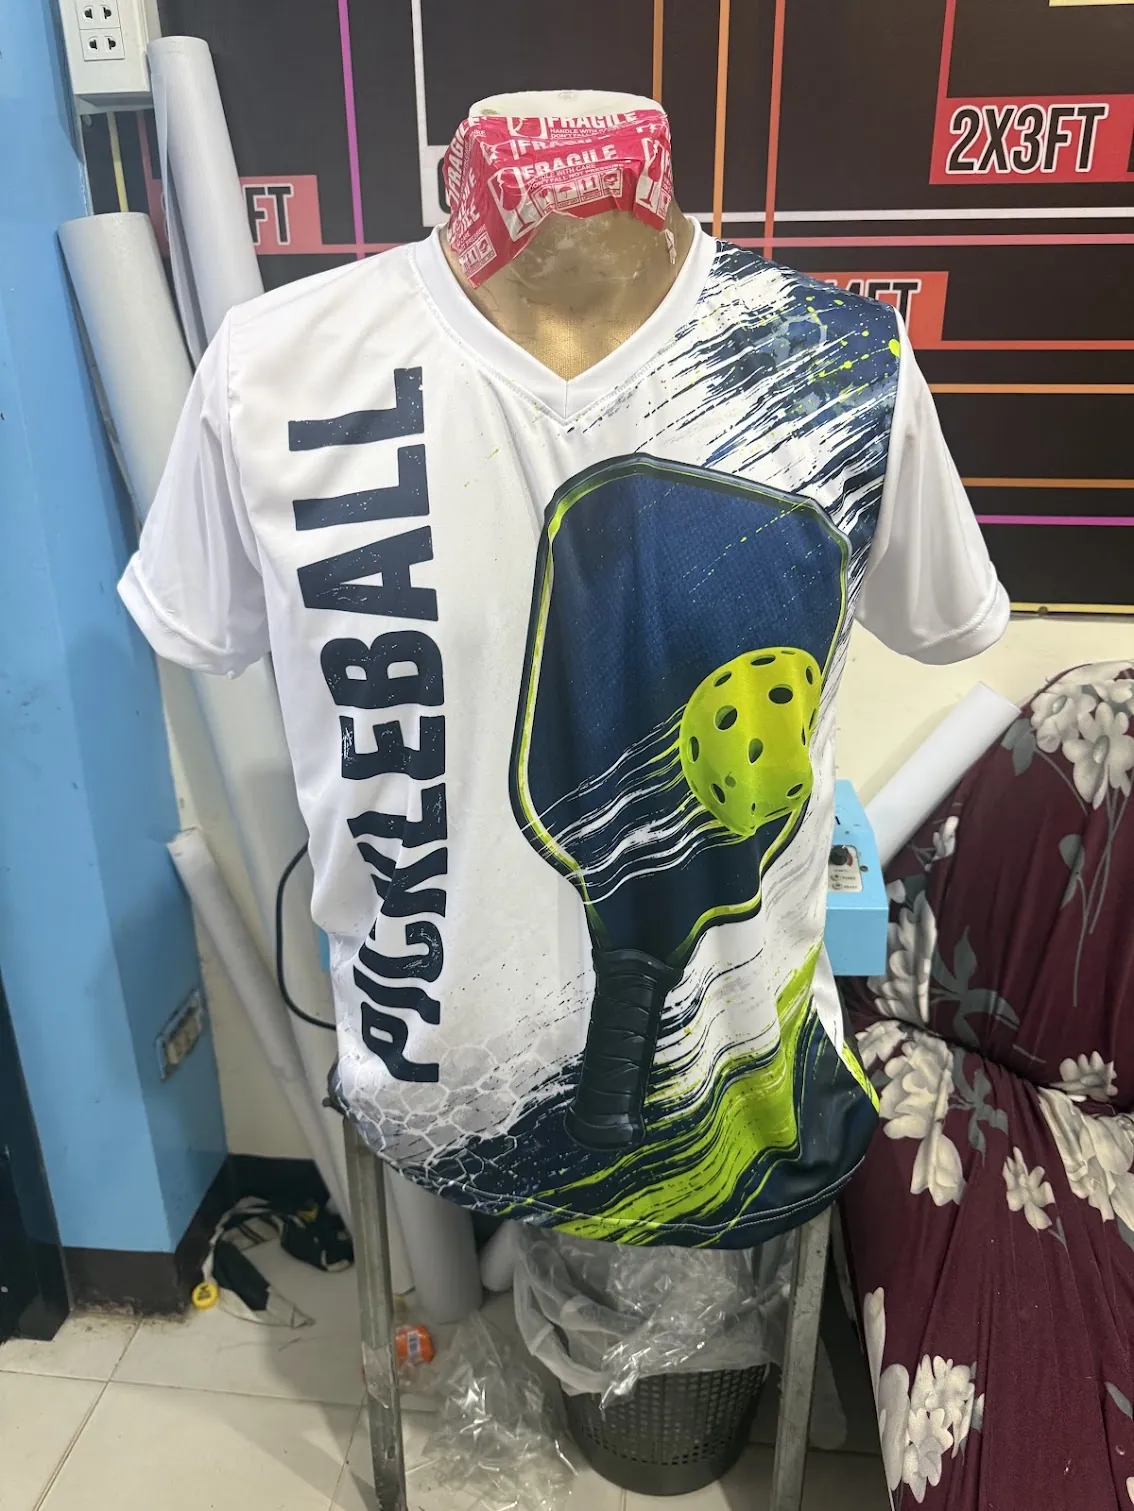
Sports League & Tournament Shirt
Custom V-neck sports shirt featuring full-color pickleball paddle graphics and high-impact vertical typography.
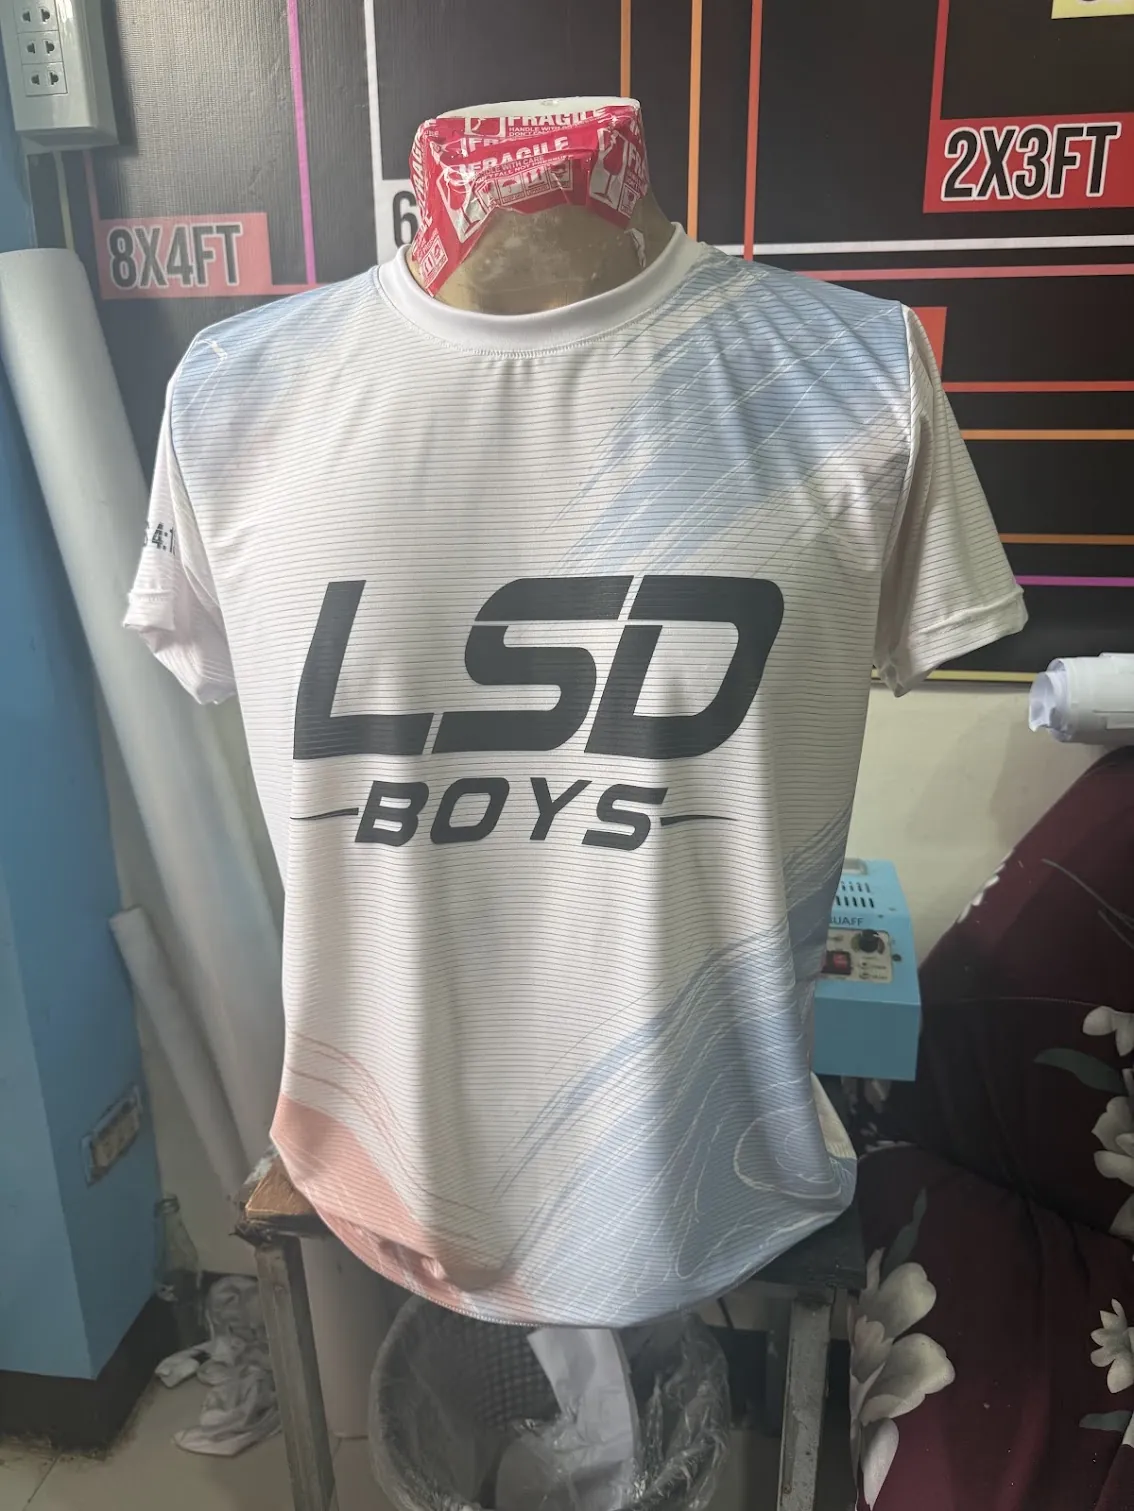
Custom Club & Team Graphic Tee
Custom micro-pinstripe activewear tee with centered bold typography and dynamic pastel wave accents.
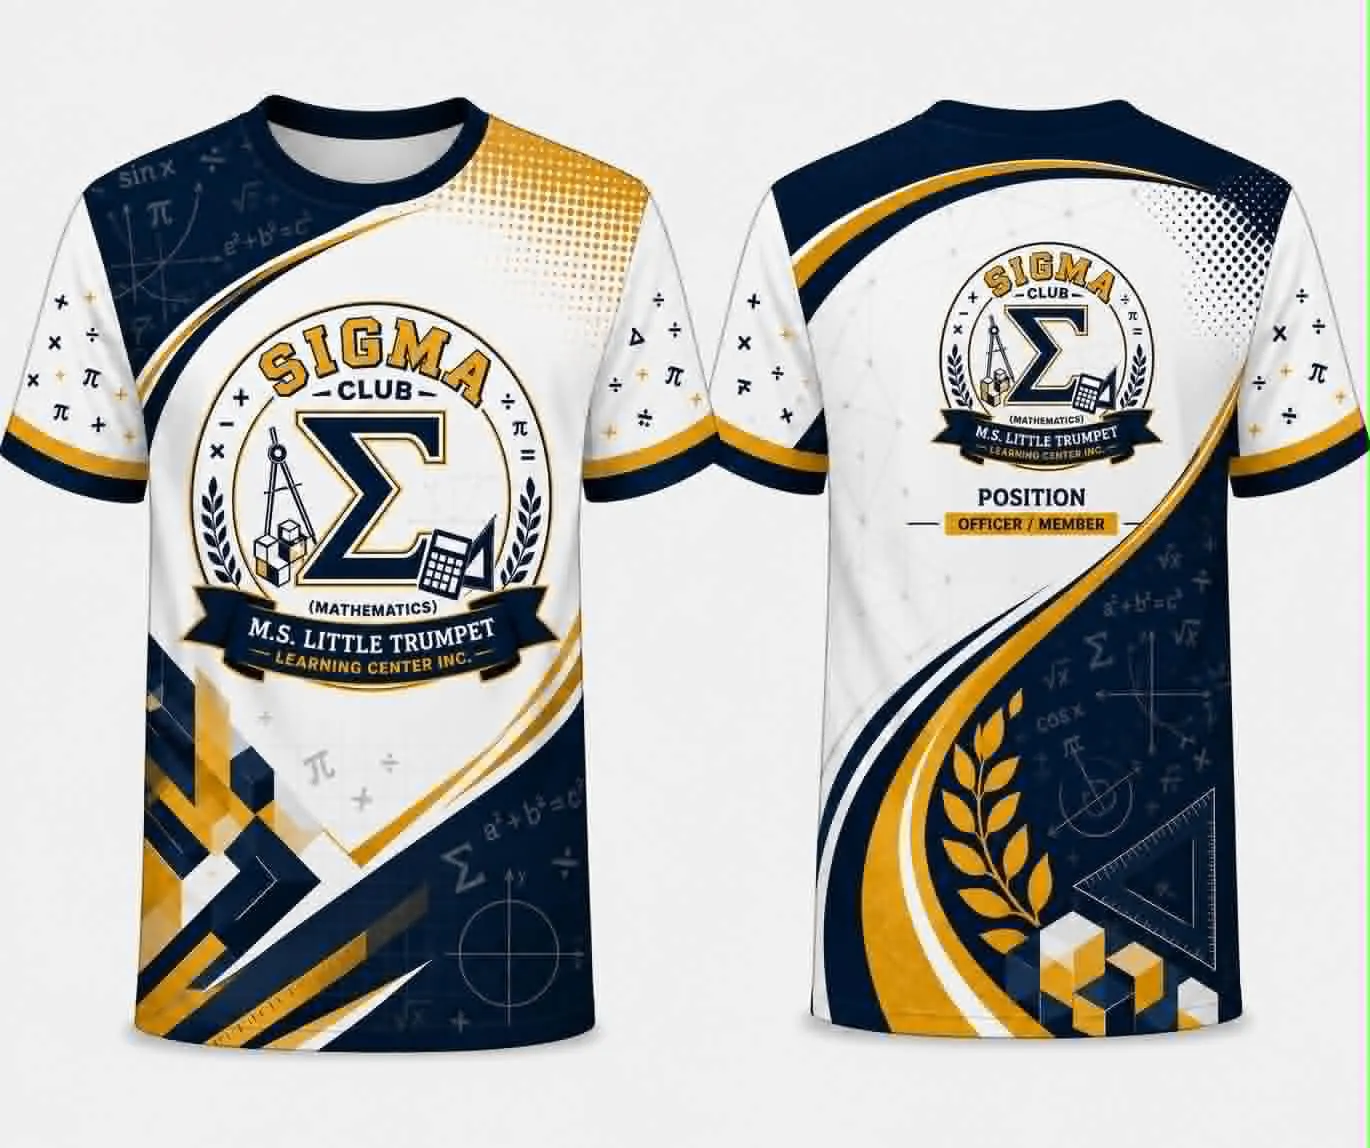
Academic Club & Organization Shirt
Full front and back custom sublimation layout with mathematical formulas, emblem crest, and custom officer designation.
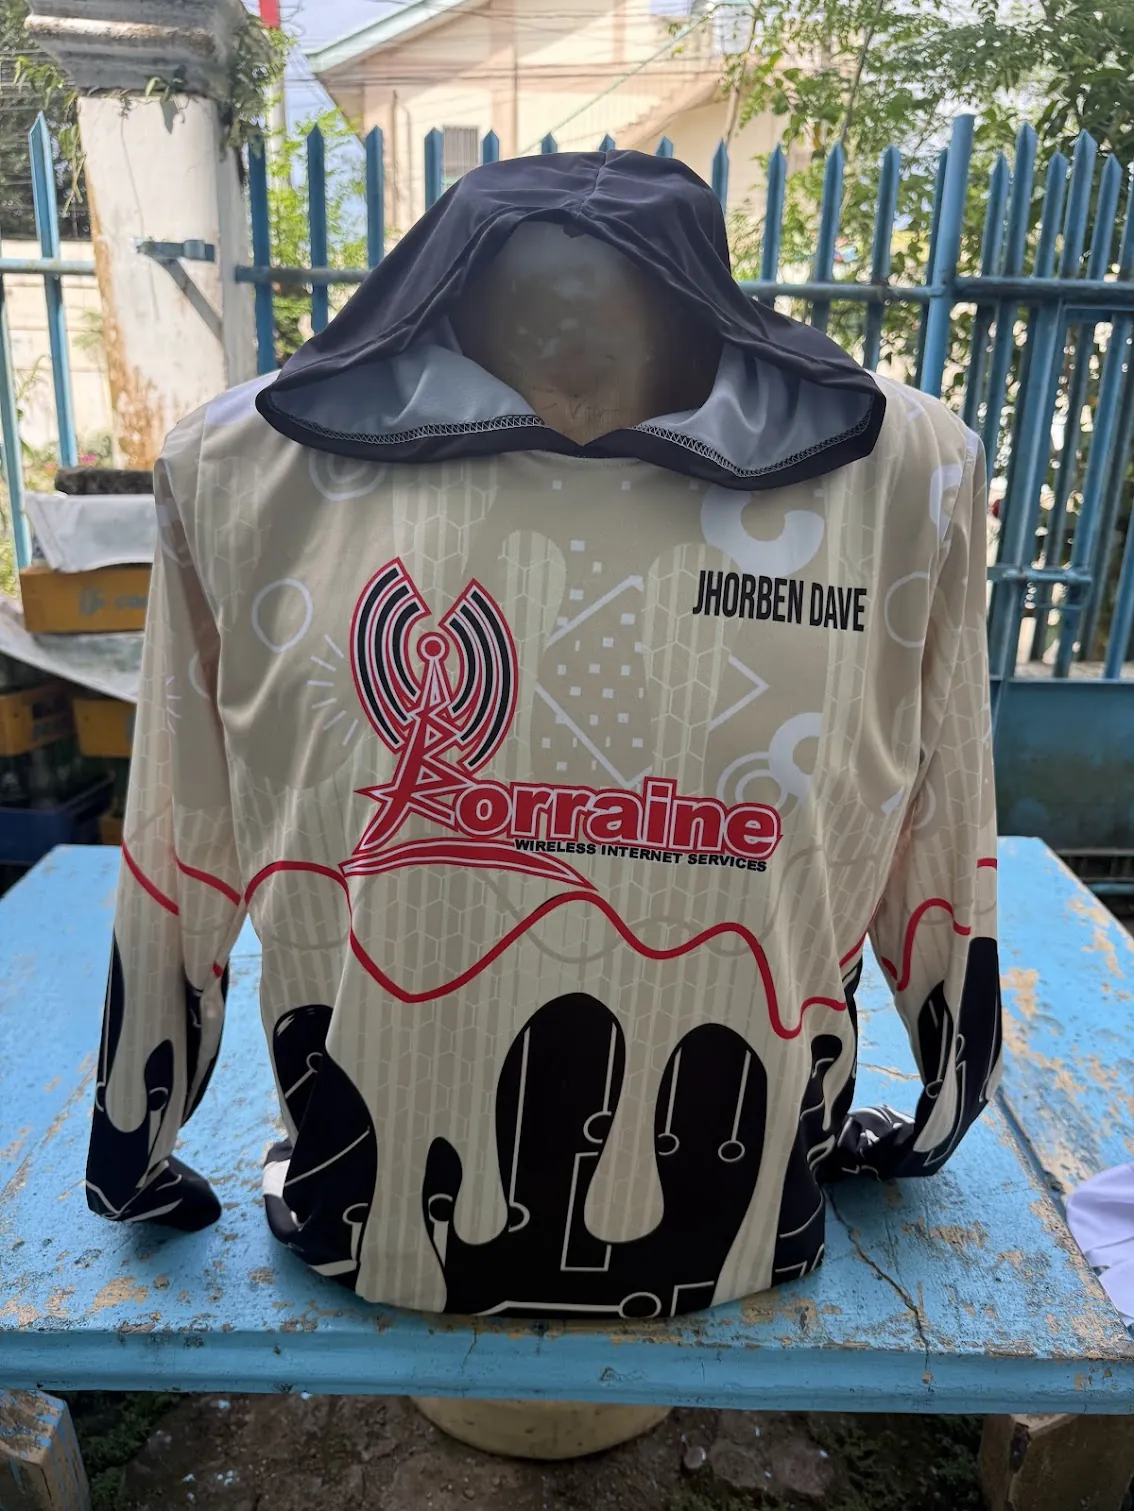
Custom Long-Sleeve Hoodie & Field Shirt
Sublimated long-sleeve field shirt with built-in hood, company branding, and individual technician name customization.
How to Make a Custom Shirt in 5 Simple Steps
Follow this systematic process to turn your raw design concept into a professionally printed physical garment:
Prepare Your Design Artwork
High-quality printing starts with high-resolution artwork. Vector files created in Adobe Illustrator or CorelDRAW (.AI, .EPS, .PDF) are ideal because they can be scaled infinitely without pixelation. If using raster graphics or photos, ensure the image is at least 300 DPI at actual print size with a transparent background (.PNG).
Keep fonts converted to outlines and specify your preferred Pantone or hex color codes for corporate brand consistency.
Select Your Shirt Blank and Fabric
Choose the fabric blend that matches your intended use case. For daily lifestyle wear and streetwear brands, choose 100% Combed Cotton or Heavyweight 220 GSM fabric. For budget-friendly mass giveaways, choose CVC Poly-Cotton (60/40). For athletic marathons and sports teams, choose Dri-Fit Polyester.
Explore all available cuts, colors, and sizing charts on our main custom t-shirts catalog.
Pick the Optimal Printing Process
Match your artwork complexity and order quantity to the best production method. For multi-color gradients and small runs, choose Direct-to-Film (DTF). For large bulk orders with 1 to 3 solid colors, choose silkscreen printing. For all-over vibrant graphics, choose sublimation printing.
Determine Print Placements and Sizing
Decide where your graphics will sit on the shirt. Common combinations include a discrete left chest logo paired with a full center back graphic, or a bold oversize graphic centered on the front chest. Specify sleeve prints, neck yoke marks, or custom hem tags for added detail.
Review Digital Proof and Launch Production
Before any ink is applied, our team generates a full-color digital mock-up showing exact print coordinates, dimensions in inches, and garment colors for your written sign-off. Once approved, garments are printed, heat-cured, quality inspected, and shipped directly to your location.
Need urgent delivery? We also provide express 24-hour turnaround via our rush shirt printing service.
Top 4 Shirt Printing Methods Compared
Here is an in-depth breakdown of how each printing technique works:
1. Direct-to-Film (DTF)
Digital inks printed onto PET transfer film, dusted with thermal adhesive, and heat-pressed into fabric fibers.
- Photographic precision and sharp gradients
- No screen setup fees (great for 10 to 50 pcs)
- Bonds to 100% cotton, CVC, and polyester
- Soft, flexible, and stretch-resistant hand
2. Silkscreen Printing
Classic stencil printing pressing durable plastisol or water-based inks directly through mesh screens.
- Lowest per-piece cost for bulk runs (100+ pcs)
- Unmatched solid spot color brightness
- Exceptional wash longevity for workwear
- Best suited for 1 to 4 solid color vector art
3. Full Dye Sublimation
Heat converts solid dye into gas, permanently embedding artwork directly into polyester yarn.
- 100% weightless with zero hand-feel
- Full body seamless edge-to-edge printing
- Never cracks, peels, or fades over time
- Exclusively for polyester and active drifit
4. Computerized Embroidery
Automated multi-needle commercial machines stitch dense polyester thread directly into garments.
- 3D textured executive and collegiate look
- Stitches outlast the lifetime of the shirt
- Ideal for left chest crests and collar tips
- Pairs perfectly with custom polo shirts
T-Shirt Fabric Selection Matrix
Select the ideal textile weight and fiber blend for your custom shirt project:
| Fabric Type | Weight (GSM) | Composition | Best Printing Technique | Ideal Use Case |
|---|---|---|---|---|
| 100% Combed Cotton | 180 to 200 GSM | Pure natural ring-spun cotton | DTF or Silkscreen | Retail brands, premium lifestyle tees |
| Heavyweight Streetwear | 220 to 240 GSM | Heavy compact cotton | DTF or High-Density Screen | Streetwear labels, oversized boxy tees |
| CVC Poly-Cotton | 160 to 180 GSM | 60% Cotton / 40% Polyester | Silkscreen or DTF | Corporate giveaways, election campaigns |
| Dri-Fit Microfiber | 140 to 160 GSM | 100% Moisture-Wicking Poly | Dye Sublimation or DTF | Running singlets, basketball uniforms |
Standard Print Placements & Sizing Coordinates
Use these industry-standard dimensions when setting up your design files:
Left Chest Crest
3.0 to 4.0 inches widePlaced 3 inches below the collar seam. Ideal for discreet company logos and pocket badges.
Full Center Front
10.0 to 12.0 inches wideBold centerpiece layout covering the main chest area for graphic tees, events, and bands.
Left / Right Sleeve
2.5 to 3.5 inches widePlaced centered on the sleeve hem for flags, sponsor emblems, or secondary branding marks.
Upper Back Yoke
3.5 to 5.0 inches widePositioned 2 inches below the rear collar rib for website domains, handles, or small icons.
Full Center Back
10.0 to 13.0 inches wideHigh-impact broad shoulder format for event sponsor rosters, security staff, and race marshals.
Bottom Hem Etiketa
1.0 to 2.0 inches wideSubtle woven damask or printed hem tag folded over the bottom hem for boutique clothing lines.
Expert Tips to Ensure Long-Lasting Custom Shirts
- Wash Inside Out: Always flip custom printed garments inside out before placing them in the washing machine to protect the print surface from friction against zippers and buttons.
- Use Cold Water: Wash in cold or lukewarm water (30 degrees Celsius or below). Hot water can weaken heat-transfer adhesive bonds and shrink natural cotton fibers.
- Avoid Direct Ironing: Never place a hot iron directly onto a DTF transfer, vinyl graphic, or screen print. Iron garments inside out or place a parchment cloth over the graphic.
- Air Dry When Possible: Line drying preserves garment elasticity and print luster much longer than high-heat tumble dryers.
Ready to Make Your Custom Shirts?
Send us your artwork, garment quantities, and placement ideas. Our graphic team prepares a complimentary visual mock-up and formal quotation within 1 hour during business hours.
Nationwide express delivery to businesses, universities, and organizations across the Philippines.